
The landscape of content creation in Pakistan and globally has dramatically shifted towards short-form video. TikTok, YouTube Shorts, and Instagram Reels dominate engagement metrics. For digital marketing agencies, faceless channel operators, and ambitious content creators in Pakistan, the ability to churn out dozens—if not hundreds—of high-quality clips daily is the ultimate competitive advantage.
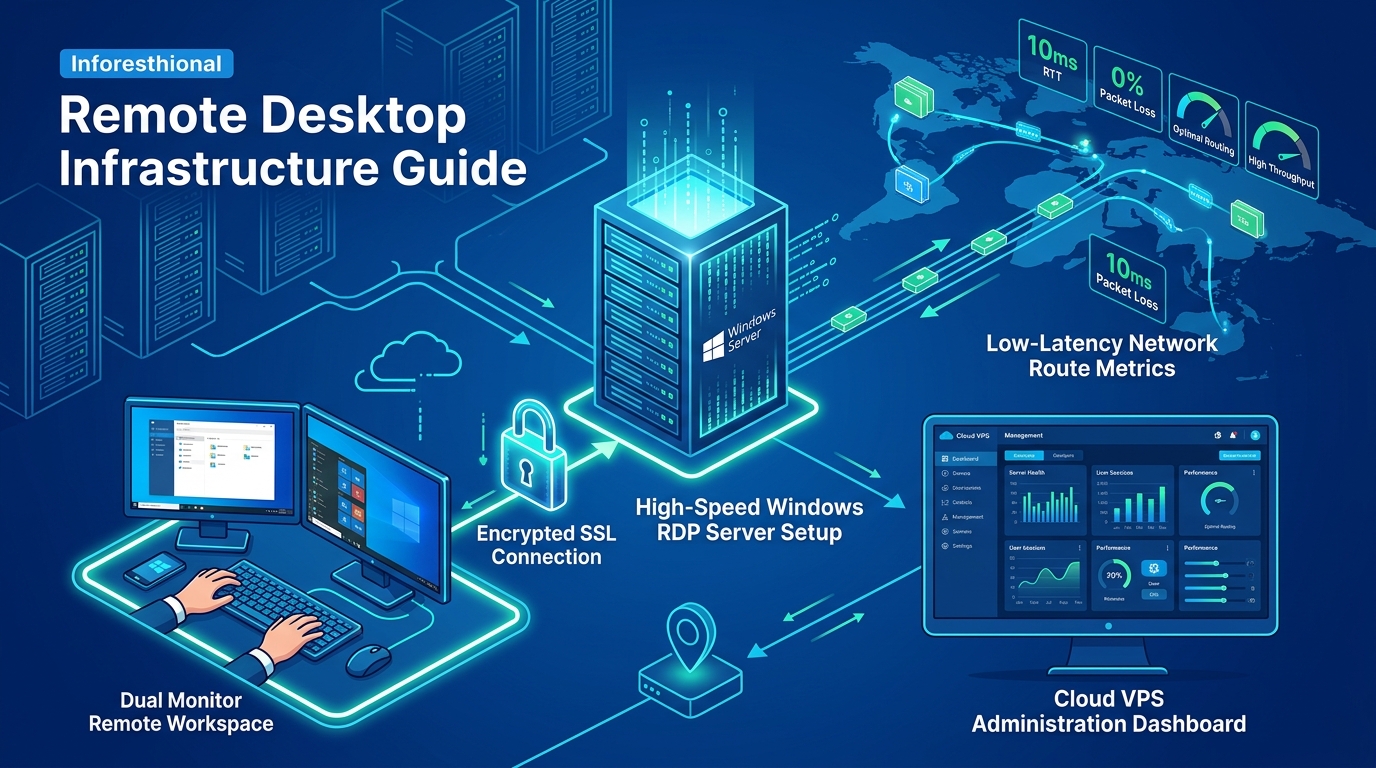
However, rendering massive amounts of video locally presents major challenges, especially in Pakistan where rolling power outages (load shedding) and fluctuating internet speeds can interrupt hours of rendering progress. The solution? Hosting an automated video rendering pipeline on a robust Windows GPU RDP.
In this guide, we’ll walk you through building a headless, automated video creation factory using Python, FFmpeg, and NVENC hardware acceleration on a remote Windows environment.
Why Use a Windows GPU RDP for Video Automation?
Relying on a local machine for 24/7 video rendering ties up your personal hardware, reducing productivity. A Windows GPU RDP solves this by providing:
- Hardware Acceleration (NVENC/CUDA): GPU RDPs equipped with NVIDIA graphics cards allow you to utilize NVENC (NVIDIA Encoder), speeding up FFmpeg rendering by up to 500% compared to CPU-only encoding.
- 100% Uptime and High-Speed Connectivity: By keeping your pipeline in a tier-3 data center, you bypass local ISP throttling and power cuts. Your scripts can run, render, and upload videos 24/7.
- Familiarity: Windows Server OS makes it incredibly easy to use GUI-based scheduling tools (Task Scheduler) and install industry-standard software like Adobe Premiere Pro or Media Encoder if you prefer ExtendScript automation over FFmpeg.
Note: While a high-end GPU RDP is perfect for a moderate pipeline, scaling your operations to handle thousands of simultaneous hardware-accelerated video rendering tasks across multiple channels requires immense, multi-core processing power and dedicated GPU clusters. In such massive deployments, you’ll need the bare-metal authority of Dedicated Servers, specifically Dedicated Servers in Pakistan if local latency and regional IP persistence are critical to your social media API operations.
Step 1: Preparing Your Windows GPU RDP Environment
Once you’ve acquired a Windows RDP with dedicated GPU passthrough, you need to set up the software stack.
- Install Python 3.x: Ensure you check the “Add Python to PATH” option during installation.
- Install FFmpeg:
- Download the latest Windows build from the official FFmpeg site.
- Extract the
ffmpeg.exeandffprobe.exebinaries into a folder (e.g.,C:\FFmpeg\bin). - Add
C:\FFmpeg\binto your Windows System Environment Variables (PATH).
- Verify NVIDIA GPU Drivers: Ensure your NVIDIA drivers are up to date. Open a command prompt and type
nvidia-smito confirm the GPU is recognized and CUDA is available.
Step 2: Designing the Automated Pipeline Architecture
Our automated pipeline will perform the following steps:
- Fetch/Generate Assets: Pull raw video clips, background music, and text files containing quotes or facts.
- Process and Assemble: Use a Python script to direct FFmpeg to crop videos to the 9:16 aspect ratio (1080x1920), add text overlays, and loop background music.
- Hardware-Accelerated Render: Output the final
.mp4file using theh264_nvencorhevc_nvenccodec.
Step 3: The Python and FFmpeg Script
Below is a core Python script utilizing the subprocess module to run complex FFmpeg commands. This example takes a horizontal video, crops it for TikTok/Shorts, overlays text, and renders it at lightning speed using the GPU.
Create a file named render_pipeline.py:
import subprocess
import os

# Define file paths
input_video = "C:\\pipeline\\raw_footage\\nature_clip.mp4"
output_video = "C:\\pipeline\\output\\final_short_01.mp4"
font_path = "C:\\pipeline\\fonts\\Montserrat-Bold.ttf"
overlay_text = "Did You Know? The average human brain..."

# Ensure output directory exists
os.makedirs(os.path.dirname(output_video), exist_ok=True)

# FFmpeg Command Construction for 9:16 Crop and Text Overlay using NVENC
ffmpeg_cmd = [
    "ffmpeg",
    "-y", # Overwrite output files without asking
    "-hwaccel", "cuda", # Enable CUDA hardware acceleration for decoding
    "-i", input_video,

    # Complex filter: Crop to 1080x1920 (9:16), scale, and draw text
    "-vf", f"crop=ih*(9/16):ih,scale=1080:1920,drawtext=fontfile='{font_path}':text='{overlay_text}':fontcolor=white:fontsize=48:x=(w-text_w)/2:y=(h-text_h)/2:box=1:[email protected]:boxborderw=10",

    # Audio codec
    "-c:a", "aac",
    "-b:a", "192k",

    # Video codec (NVIDIA Hardware Encoder)
    "-c:v", "h264_nvenc",
    "-preset", "p6", # p1 to p7 (p6 is slower but higher quality)
    "-profile:v", "high",
    "-b:v", "5M", # 5 Mbps bitrate
    "-maxrate", "6M",
    "-bufsize", "10M",

    output_video
]

print("Starting hardware-accelerated render...")
try:
    subprocess.run(ffmpeg_cmd, check=True)
    print(f"Successfully rendered: {output_video}")
except subprocess.CalledProcessError as e:
    print(f"Error during rendering: {e}")
Understanding the FFmpeg Arguments:
-hwaccel cuda: Offloads video decoding to the NVIDIA GPU.-vf crop=ih*(9/16):ih,scale=1080:1920: Centers and crops a horizontal video to fit the vertical 9:16 format required by Shorts and TikTok.-c:v h264_nvenc: This is the secret sauce. Instead of utilizing your CPU (libx264), it forces the rendering onto the GPU encoder chip, drastically reducing render times.
Step 4: Automating the Execution
Running the script manually defeats the purpose of automation. On your Windows GPU RDP, you can use the built-in Task Scheduler.
- Open Task Scheduler and click Create Task…
- Name it “Daily Shorts Rendering Pipeline”.
- Under the Triggers tab, set it to run “Daily” at a specific time (e.g., 2:00 AM).
- Under the Actions tab, create a new action:
- Action: Start a program
- Program/script:
python - Add arguments:
C:\pipeline\scripts\render_pipeline.py
- Under the General tab, select Run whether user is logged on or not. This ensures your server processes videos even if you close the remote desktop connection.
Advanced Scaling Tips
- Batch Processing: Modify the Python script to loop through a directory of raw videos and text prompts (e.g., loaded from a CSV file), rendering dozens of videos sequentially.
- Adobe Premiere / Media Encoder Watch Folders: If you prefer Adobe’s ecosystem over FFmpeg, you can set up Adobe Media Encoder on your Windows RDP. Create a “Watch Folder”—any After Effects
.aepor Premiere.prprojfile dropped into this folder will automatically render using the GPU. - API Integration: Integrate the YouTube Data API v3 or TikTok Content Posting API into your Python script to auto-publish the generated
.mp4files immediately after rendering.
Conclusion
By migrating your video production to a Windows GPU RDP, you eliminate local hardware bottlenecks and internet woes, empowering you to scale your content channels exponentially. Whether you are generating daily trivia shorts, motivational quote reels, or gameplay highlights, leveraging NVENC and Python automation is the key to dominating the modern algorithm.
