
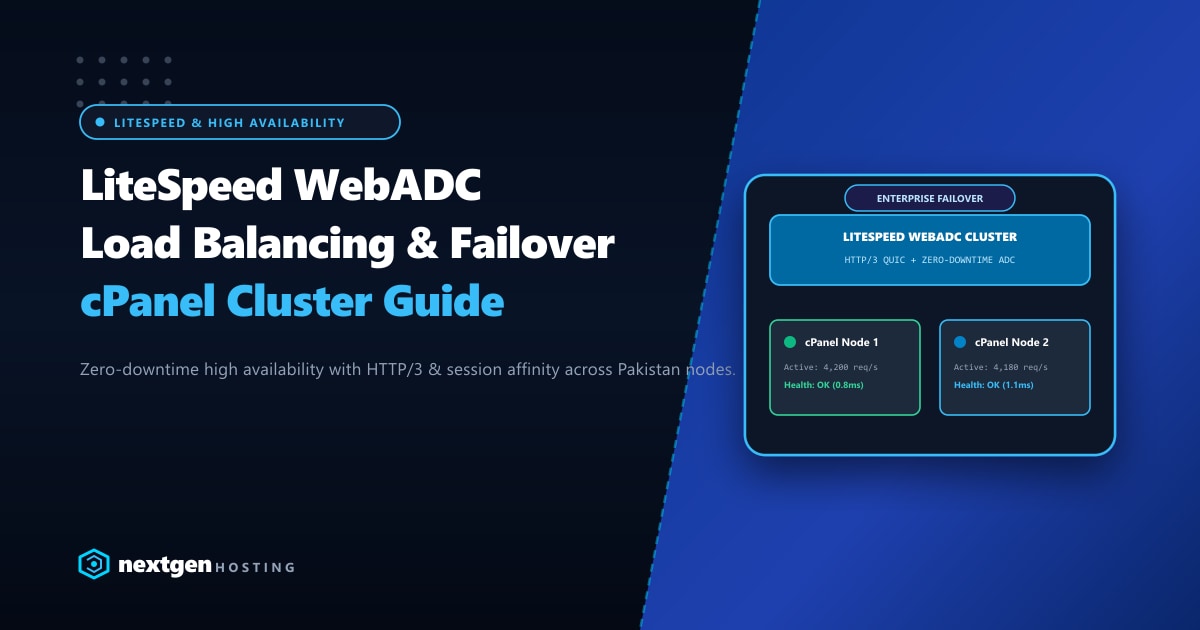
High-traffic e-commerce operations, financial portals, and government web applications in Pakistan routinely buckle under sudden traffic surges when restricted to a single monolithic cPanel server. Even with LiteSpeed Enterprise and aggressive object caching, hardware limits on CPU cores, RAM buses, and network interfaces eventually bottleneck throughput.
When your primary server undergoes maintenance or suffers an unexpected hardware stall, every second of downtime damages your brand equity and revenue.
LiteSpeed WebADC (Web Application Delivery Controller) is the purpose-built load balancer and reverse proxy designed specifically to distribute traffic seamlessly across multi-server cPanel clusters. Unlike generic reverse proxies like basic HAProxy or Nginx, LiteSpeed WebADC provides native HTTP/3 QUIC connection migration, dynamic session affinity, Layer 7 content routing, intelligent caching coordination, and instant failover without dropping active WebSocket or checkout connections.
Executive Takeaways for System Engineers
- Native HTTP/3 & QUIC Offloading: Terminate encrypted UDP QUIC connections at the WebADC edge while relaying optimized HTTP/1.1 or HTTP/2 keep-alive streams to backend cPanel worker nodes.
- Intelligent Session Affinity (Sticky Sessions): Ensures WooCommerce shopping carts, banking sessions, and WordPress admin dashboards stay bound to the originating worker server without shared filesystem locks.
- Zero-Downtime Health Checking: WebADC constantly probes backend worker nodes with synthetic HTTP status checks; any struggling node is dropped from the active pool within milliseconds without 502/504 errors.
- Latency-Optimized Architecture: When hosting high-volume Pakistani web properties on our ultra-fast Dedicated Servers in Pakistan, WebADC keeps sub-5ms round-trip times across local multi-node cluster topologies.
1. WebADC vs. HAProxy vs. Nginx: The Cluster Comparison
Before deploying a load balancing layer in front of cPanel, systems architects must evaluate protocol support, caching, and maintenance overhead:
| Feature / Capability | LiteSpeed WebADC | HAProxy Enterprise | Nginx Reverse Proxy |
|---|---|---|---|
| HTTP/3 & QUIC Support | Native, kernel-accelerated | Complex experimental tuning | Requires custom compilation |
| cPanel Cluster Sync | Native cluster awareness | Manual config scripting | Manual upstream maps |
| Edge Cache Coordination | LSCache tag purging aware | External Lua modules | Separate FastCGI cache |
| SSL / TLS Offloading | Hardware & async TLS | OpenSSL crypto offload | OpenSSL crypto offload |
| DDoS Edge Mitigation | Native IP throttling & reCAPTCHA | iptables / stick tables | limit_req modules |
| Target Infrastructure | High-concurrency CMS & LMS | Raw TCP/HTTP load balancing | General web applications |
LiteSpeed WebADC uniquely understands the LiteSpeed Cache architecture. When an editor updates a WooCommerce product on Backend Node 2, WebADC coordinates the cache tag purge across all worker nodes simultaneously.
2. Physical & Network Topology Architecture
In a standard high-availability setup, WebADC operates as the frontline ingress gateway, while two or more backend servers run cPanel & WHM with LiteSpeed Enterprise Web Server:
                      [ Internet Traffic (Pakistan & Global) ]
                                         │
                                         ▼
                      ┌─────────────────────────────────────┐
                      │    LiteSpeed WebADC Ingress Edge    │
                      │   (Public IP: 103.xxx.xxx.10)       │
                      │  - HTTP/3 QUIC & SSL Offloading     │
                      │  - L7 Traffic Director & Anti-DDoS  │
                      └──────────────────┬──────────────────┘
                                         │
                 ┌───────────────────────┴───────────────────────┐
                 │ Private 10Gbps Backend VLAN (192.168.100.0/24)│
                 ▼                                               ▼
  ┌───────────────────────────────┐               ┌───────────────────────────────┐
  │   cPanel Worker Node 1        │               │   cPanel Worker Node 2        │
  │   IP: 192.168.100.11          │               │   IP: 192.168.100.12          │
  │   - LiteSpeed Enterprise      │               │   - LiteSpeed Enterprise      │
  │   - Local PHP-FPM / LSPHP     │               │   - Local PHP-FPM / LSPHP     │
  └──────────────┬────────────────┘               └──────────────┬────────────────┘
                 │                                               │
                 └───────────────────────┬───────────────────────┘
                                         ▼
                      ┌─────────────────────────────────────┐
                      │   Centralized DB / GlusterFS Tier   │
                      │   (Galera Cluster / Shared Storage) │
                      └─────────────────────────────────────┘
For mission-critical enterprises requiring dedicated compute power across international and local datacenters, provisioning multi-node clusters on enterprise-grade Dedicated Servers ensures unshared NVMe bandwidth, guaranteed CPU allocation, and isolated network throughput.
3. Step-by-Step LiteSpeed WebADC Installation
WebADC can be installed on an independent AlmaLinux or Rocky Linux 9 server running minimal OS packages.
Step 3.1: Download and Run the Installer
# Update base repositories and install prerequisites
dnf update -y
dnf install wget curl tar gcc -y

# Download the latest WebADC binary release
cd /usr/local/src
wget https://www.litespeedtech.com/packages/lsadc/lsadc-3.2.1-x86_64-linux.tar.gz

# Extract and run the interactive setup
tar -zxvf lsadc-3.2.1-x86_64-linux.tar.gz
cd lsadc-3.2.1
./install.sh
During installation:
- Destination: Default
/usr/local/lsadc - Admin Port: Set to secure custom port (e.g.,
7090) - Admin Credentials: Assign a complex 24-character password
Step 3.2: Configure Firewall & Service
Open the HTTP, HTTPS, and WebAdmin ports in firewalld:
firewall-cmd --permanent --add-port=80/tcp
firewall-cmd --permanent --add-port=443/tcp
firewall-cmd --permanent --add-port=443/udp # Essential for QUIC/HTTP3!
firewall-cmd --permanent --add-port=7090/tcp
firewall-cmd --reload

# Start the WebADC service
systemctl start lsadc
systemctl enable lsadc
4. Configuring Upstream Clusters & Health Checks
Access the WebADC Admin Console at https://your-loadbalancer-ip:7090.
Step 4.1: Define the Backend Cluster
Navigate to Clusters > Add New Cluster:
- Cluster Name:
cpanel_production_cluster - Cluster Type:
Load Balancer - Algorithm:
Least Connections(orRound Robinif all nodes share identical hardware specs)
Step 4.2: Add Backend Worker Nodes
Inside cpanel_production_cluster, add the worker nodes:
Node 1:
- Name: cpanel-node-01
- Address: 192.168.100.11:443
- Max Connections: 2500
- Initial Priority: 1
- SSL: Enabled (Trust backend self-signed or internal CA)

Node 2:
- Name: cpanel-node-02
- Address: 192.168.100.12:443
- Max Connections: 2500
- Initial Priority: 1
- SSL: Enabled
Step 4.3: Configure Automated Health Checking
To ensure failing servers are immediately isolated before clients experience broken requests:
Health Check Configuration:
- Ping Interval: 3 seconds
- Timeout: 1500 ms
- Target URL: /healthcheck.php
- Expected HTTP Code: 200
- Failure Consecutive Count: 2
- Recovery Consecutive Count: 3
Create /home/username/public_html/healthcheck.php on both cPanel nodes:
<?php
// Simple lightweight health probe that verifies MySQL and PHP functionality
header("Content-Type: text/plain");
header("Cache-Control: no-cache, must-revalidate");

// Verify MariaDB connection
$mysqli = @new mysqli("localhost", "health_user", "SecretPass123!", "health_db");
if ($mysqli->connect_errno) {
    http_response_code(503);
    echo "DATABASE_OFFLINE";
    exit;
}

$mysqli->close();
http_response_code(200);
echo "HEALTHY_OK";
5. Configuring Session Affinity (Sticky Sessions)
WooCommerce stores session tokens in cookies. If a user’s initial request hits Node 1, subsequent cart additions must route to the same node unless Node 1 fails:
In the WebADC Virtual Host settings:
Session Cookie Settings:
- Cookie Name: LSADC_STICKY
- Timeout: 3600 (1 hour)
- Path: /
- Mode: Inject Cookie
When WebADC receives a request without LSADC_STICKY, it assigns a backend node based on Least Connections and appends an encrypted hash of the node ID to the client’s Set-Cookie header. All subsequent requests directly target that node.
6. Passing Client Real IP to cPanel Apache/LiteSpeed
Because all traffic routes through WebADC, backend cPanel nodes will see the WebADC internal IP (192.168.100.10) as the visitor IP unless proxy headers are configured.
In WHM on both worker nodes:
- Open WHM > Apache Configuration > Global Configuration.
- Set Use canonical physical port to
On. - Add
RemoteIPHeader X-Forwarded-For. - Add
RemoteIPInternalProxy 192.168.100.10.
In LiteSpeed Web Server WebAdmin on both nodes:
- Navigate to Server > General > Use Client IP in Header.
- Select Yes (X-Forwarded-For).
- In Trusted IP List, add
192.168.100.10.
Restart LiteSpeed on the nodes:
/usr/local/lsws/bin/lswsctrl restartConclusion & Scalability Roadmap
Implementing LiteSpeed WebADC transforms fragile single-point-of-failure hosting setups into fault-tolerant, horizontally scalable application platforms. Whether running high-volume Flash Sales or hosting thousands of cPanel tenant accounts, WebADC delivers enterprise-grade reliability, instant failover, and class-leading HTTP/3 speed.
Ready to Build a High-Availability Server Cluster?
Power your LiteSpeed WebADC clusters with Nextgen's enterprise hardware in Islamabad and global datacenters. Unmetered 10Gbps private VLANs, dedicated Xeon/EPYC processors, and 24/7 senior DevOps engineering.
