
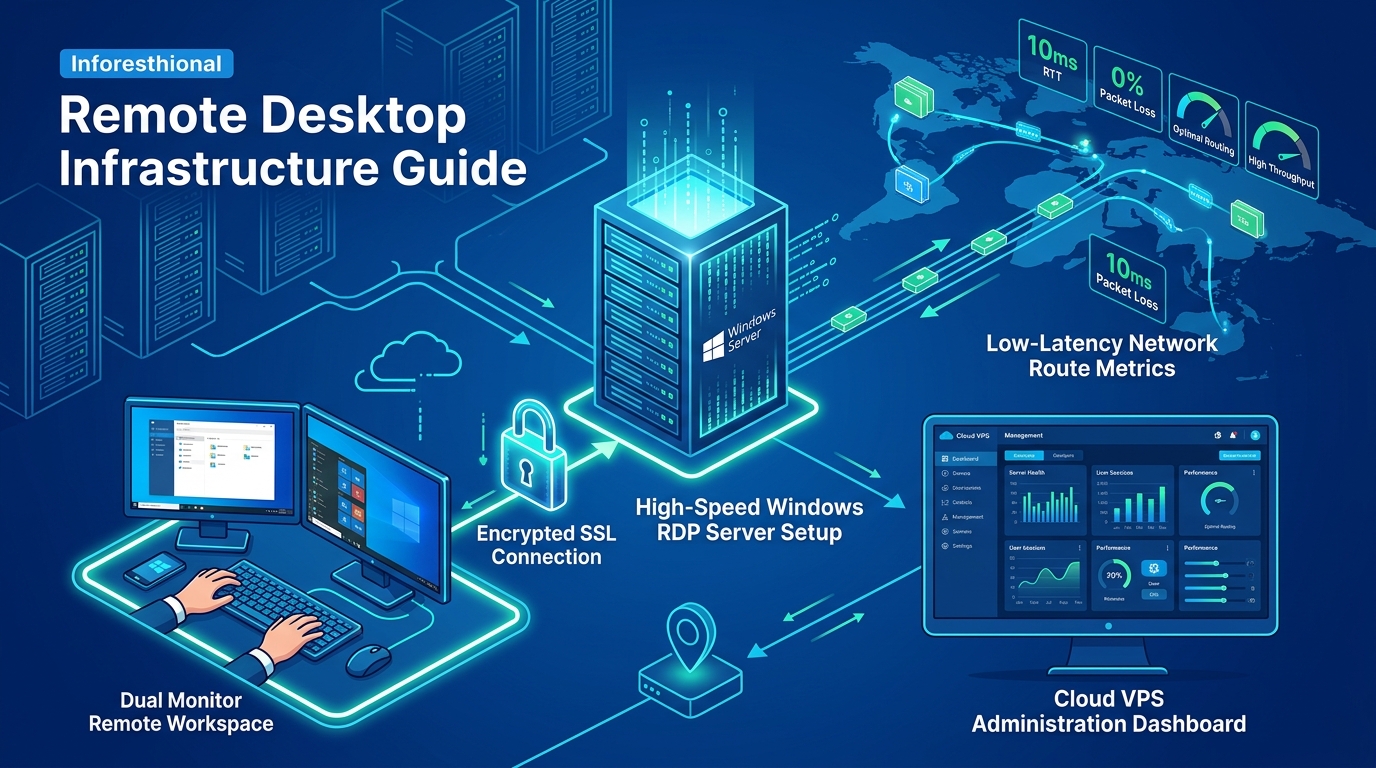
Palworld has taken the gaming community by storm, and for Pakistani gamers, the ultimate experience lies in playing seamlessly with friends on a lag-free dedicated server. While official servers often suffer from high ping and overcrowding, hosting your own Palworld Dedicated Server on a Windows RDP gives you absolute control over server settings, mods, and performance.
For smaller groups, a high-end Windows RDP provides a smooth and accessible hosting environment. However, if you plan on deploying large-scale 32-player Palworld servers with extensive mods, you will require the unmetered bandwidth and multi-core power of bare-metal Dedicated Servers in Pakistan. Let’s dive into the step-by-step process of setting up your very own Palworld server using SteamCMD on a Windows RDP.
Why Choose a Windows RDP for Palworld Hosting?
Windows Remote Desktop Protocol (RDP) instances are favored by many administrators because of the intuitive GUI (Graphical User Interface) and native compatibility with SteamCMD and Windows-based server binaries.
Key Benefits:
- Low Latency for Local Players: Hosting within or near Pakistan ensures ping stays well below 50ms for local players.
- Always Online: Unlike hosting on your personal PC, an RDP keeps your server online 24/7 without consuming your home internet bandwidth or electricity.
- Easy Management: Using standard Windows tools (Task Manager, Resource Monitor, Windows Firewall) makes server administration straightforward.
If you are looking to run multiple instances or resource-heavy game servers concurrently, you might want to consider our enterprise-grade Dedicated Servers.
Prerequisites and System Requirements
Before starting, ensure your Windows RDP meets the following minimum requirements for a stable Palworld server (supporting up to 16 players):
- OS: Windows Server 2019 or 2022 / Windows 10/11 Pro
- CPU: 4 Cores (8 Threads) at 3.0 GHz or higher
- RAM: Minimum 16 GB (Palworld servers are notoriously RAM-hungry due to memory leaks; 32 GB is highly recommended for 24/7 uptime).
- Storage: 40 GB NVMe SSD space (Fast storage is crucial for quick world saves and low stutter).
- Network: 1 Gbps port with unmetered bandwidth.
Step 1: Installing SteamCMD
SteamCMD is a command-line version of the Steam client used specifically for installing and updating dedicated servers.
- Create a dedicated folder for SteamCMD on your RDP, e.g.,
C:\SteamCMD\. - Download SteamCMD from the official Valve repository.
- Extract
steamcmd.exeinto yourC:\SteamCMD\directory. - Run
steamcmd.exe. It will automatically download the necessary updates and dependencies. Wait until you see theSteam>prompt.
Step 2: Downloading the Palworld Server Files
With SteamCMD running, execute the following commands to install the Palworld Dedicated Server files:
// Set the installation directory for the Palworld server
Steam> force_install_dir C:\PalworldServer\

// Login anonymously
Steam> login anonymous

// Download and install the Palworld server (App ID: 2394010)
Steam> app_update 2394010 validate

// Exit SteamCMD
Steam> quit
Your server files are now installed in C:\PalworldServer\.
Step 3: Configuring the Server
Palworld’s configuration is managed through a .ini file. By default, the configuration file might be empty until the server runs for the first time.
- Navigate to
C:\PalworldServer\and runPalServer.exeonce. A command prompt window will open. Let it run for 30 seconds, then close it. This generates the necessary directory structure. - Navigate to
C:\PalworldServer\Pal\Saved\Config\WindowsServer\. - Open
PalWorldSettings.iniusing a text editor (like Notepad). - If the file is empty, you can copy the default settings from
C:\PalworldServer\DefaultPalWorldSettings.iniand modify them.
Essential Configuration Parameters:
[/Script/Pal.PalGameWorldSettings]
OptionSettings=(Difficulty=None,DayTimeSpeedRate=1.000000,NightTimeSpeedRate=1.000000,ExpRate=1.000000,PalCaptureRate=1.000000,ServerName="Nextgen PK Palworld Server",ServerDescription="Welcome to the best Pakistani Palworld Server!",AdminPassword="YourSecurePasswordHere",ServerPassword="",PublicPort=8211,PublicIP="YOUR_RDP_IP_ADDRESS",RCONEnabled=True,RCONPort=25575)
Key variables to adjust:
ServerName: The name displayed in the server browser.AdminPassword: Required to execute in-game admin commands.ServerPassword: Leave blank for a public server, or set a password for a private group.PublicIP: Your RDP’s public IPv4 address.
Step 4: Configuring Windows Firewall
To allow players to connect, you must open the specific ports used by Palworld.
- Open Windows Defender Firewall with Advanced Security on your RDP.
- Click on Inbound Rules > New Rule.
- Select Port and click Next.
- Select UDP and enter the port number:
8211. - Allow the connection, apply it to all profiles (Domain, Private, Public), and name it “Palworld Server UDP”.
- (Optional) If you enabled RCON for remote administration, create a second rule for TCP port
25575.
Step 5: Creating a Startup Batch Script
To easily start the server and enable multithreading optimizations, create a .bat file in your server directory.
- Right-click inside
C:\PalworldServer\and select New > Text Document. - Rename it to
StartServer.bat(ensure the.txtextension is removed). - Right-click the file and select Edit.
- Paste the following code:
@echo off
title Palworld Dedicated Server
echo Starting Palworld Server...
PalServer.exe -useperfthreads -NoAsyncLoadingThread -UseMultithreadForDS
Note: The -useperfthreads and -UseMultithreadForDS flags are highly recommended to force the Unreal Engine to utilize multiple CPU cores efficiently, drastically reducing rubberbanding.
- Save the file and double-click
StartServer.batto launch your server!
Step 6: Server Optimization and Maintenance Tips
- Scheduled Restarts: Palworld currently suffers from memory leaks. If your server is running 24/7, RAM usage will slowly creep up until the server crashes. Use Windows Task Scheduler to run a script that cleanly restarts the server every 12 to 24 hours.
- Backups: World saves are located in
C:\PalworldServer\Pal\Saved\SaveGames\. Regularly zip and back up this folder. You can automate this using a simple PowerShell script. - Automated Updates: Game updates drop frequently. You can create an
update.batscript that runs SteamCMD to validate and update the2394010app automatically before starting the server.
Conclusion
Deploying a Palworld Dedicated Server on a Windows RDP offers the perfect blend of performance, control, and accessibility for Pakistani gamers. By following this guide, you ensure your community has a fast, reliable, and secure environment to capture Pals, build massive bases, and explore without interruption. Happy gaming!
