
Pushing theme updates, major plugin upgrades (like WooCommerce or PHP 8.4 compatibility checks), or custom database migrations directly onto a live production WordPress site is one of the riskiest mistakes a web agency or merchant in Pakistan can make.
A single broken hook or syntax error triggers the dreaded “White Screen of Death” (WSOD), halting transactions and damaging your search rankings.
Yet, many developers hesitate to use staging environments because they fear the “WooCommerce Data Desynchronization Nightmare”: while testing changes on a staging clone for three days, new customer orders, invoice records, and user registrations continue accumulating on the live database. If you blindly overwrite the live database with your staging copy, all intermediate customer orders are permanently deleted.
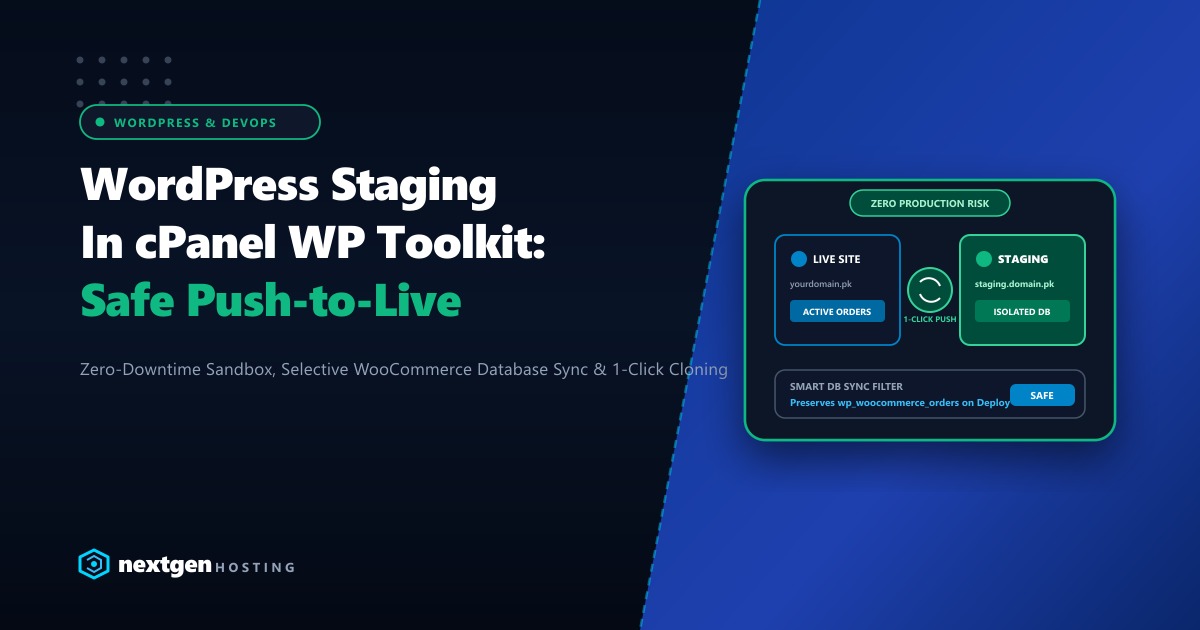
Using cPanel WP Toolkit, you can configure an automated, isolated staging sandbox with selective table synchronization to safely push frontend code and theme layouts without touching live customer orders.
Here is your complete engineering blueprint for zero-downtime WordPress staging in cPanel for 2026.
Executive Staging Architecture Summary
- Complete Isolation: WP Toolkit creates an independent file directory (
/staging/) and a separate MySQL database with unique credentials, completely walling off testing experiments from your live site. - Selective Database Synchronization: When pushing staging back to production, WP Toolkit allows you to exclude transactional WooCommerce tables (
wp_postsof type 'shop_order',wp_woocommerce_order_items,wp_wc_order_stats) to prevent data loss. - Automated URL Rewriting: WP Toolkit automatically executes deep serialized search-and-replace queries, converting all internal links from
staging.yourdomain.pkback toyourdomain.pkseamlessly. - Isolated Hardware Advantage: High-traffic eCommerce staging clones consume duplicate memory and CPU. Hosting on isolated dedicated servers ensures that running staging test suites never slows down live customer checkouts.
1. Creating a Staging Environment with 1-Click in cPanel
Modern cPanel installations feature WordPress Toolkit Deluxe. Follow these steps to clone your site safely:
- Log into your cPanel Account.
- From the left navigation menu or the Applications section, click WordPress Toolkit.
- Locate your primary production installation (e.g.,
yourdomain.pk). - Click the Clone button on your site management card.
- In the Clone configuration modal:
- Target Subdomain: Select
Create subdomainand enterstaging(e.g.,staging.yourdomain.pk). - Document Root: Automatically defaults to
/staging.yourdomain.pk. - Database Name: WP Toolkit automatically prefixes a new database (e.g.,
youruser_wptk_stg).
- Target Subdomain: Select
- Click Start.
WP Toolkit copies all WordPress core files, themes, uploads, creates the isolated MySQL database, and runs serialized search-and-replace to update all URLs to the staging domain in under 60 seconds.
2. Hardening and Protecting Your Staging Sandbox
A staging clone must never be indexed by search engines or probed by external scrapers:
Step 1: Prevent Google Indexing
In WP Toolkit under your staging installation card, toggle Search Engine Indexing to OFF. This automatically injects:
<meta name="robots" content="noindex, nofollow" />Step 2: Enable HTTP Basic Authentication
To prevent unauthorized public access, toggle Password Protection to ON in WP Toolkit and set an administrative username and password. Now, only authorized developers and QA testers can view the sandbox.
3. Developing and Testing Safely in Staging
With the staging clone active, you can safely perform high-risk maintenance:
- Test major version jumps (e.g., WordPress 6.8, WooCommerce 9.x, Elementor Pro).
- Upgrade PHP versions (testing against PHP 8.4) to catch deprecated functions before production.
- Refactor child theme CSS, template overrides, and custom checkout hooks.
- Benchmark page speed improvements using caching plugins without risking live customer shopping sessions.
4. The Critical Step: Pushing Staging to Production Without Data Loss
When your testing is complete, you must synchronize your changes back to production. This is where selective data synchronization is vital:
- In WP Toolkit, locate your staging instance (
staging.yourdomain.pk). - Click the Copy Data button.
- In the Target dropdown, select your live production site (
yourdomain.pk). - Under Data to Copy, choose:
- Files:
All files (overwrites live files). - Database: Select
Selected tables only.
- Files:
- In the table selection list:
- SELECT: Theme options, custom post types, new landing pages, and plugin settings.
- DESELECT / EXCLUDE (CRITICAL FOR WOOCOMMERCE):
wp_woocommerce_*(All WooCommerce analytics and session tables)wp_wc_*(Customer order lookup and tax logs)wp_usersandwp_usermeta(Preserves new user registrations made while staging was being tested)wp_commentsandwp_commentmeta(Preserves new customer product reviews)
- Check Create a restore point before copying (provides instant 1-click rollback in case of an issue).
- Click Start.
WP Toolkit applies the updated code, updates only the selected database records, and automatically purges server-level LiteSpeed / Nginx page caches!
5. Enterprise Infrastructure for Flawless Staging Workflows
Running production and staging environments on the same server requires adequate physical compute and memory headroom. If your hosting environment is severely resource-constrained, creating a 10GB staging clone and executing database migrations can exhaust disk I/O and trigger 504 Gateway Timeouts on your live store.
Deploying on our high-performance global Dedicated Servers provides high-clock AMD EPYC processors, 64GB+ DDR5 memory, and high-speed NVMe storage, ensuring that cloning and running staging tests never impacts live checkout performance.
For Pakistani eCommerce giants, national retail brands, and high-volume software agencies requiring low-latency domestic transit and compliance with State Bank regulations, our Dedicated Servers in Pakistan provide local bare-metal hosting in Karachi and Lahore with sub-10ms domestic ping times, dedicated bandwidth pipelines, and local PKR billing with 24/7 dedicated engineering support.
6. Post-Deployment Verification Checklist
Once the copy operation completes, perform a rapid 5-step health verification on your live store:
# 1. Verify HTTP 200 on live homepage
curl -I https://yourdomain.pk/

# 2. Check for PHP fatal errors in live error log
tail -n 50 /var/www/vhosts/yourdomain.pk/logs/error_log

# 3. Verify WooCommerce cart and checkout endpoints resolve
curl -I https://yourdomain.pk/cart/
curl -I https://yourdomain.pk/checkout/

# 4. Perform a real test purchase in sandbox payment mode
# 5. Flush external CDN cache (Cloudflare) to ensure edge nodes serve new assets
By following this standardized WP Toolkit workflow, your agency or eCommerce business in Pakistan can innovate continuously with zero downtime, zero broken features, and zero lost revenue!
Deploy Flawless WordPress Environments on Enterprise Hosting
Say goodbye to white screens and broken updates. Build, test, and scale with pre-configured WP Toolkit Deluxe, LiteSpeed caching, and pure NVMe performance in Pakistan.
