
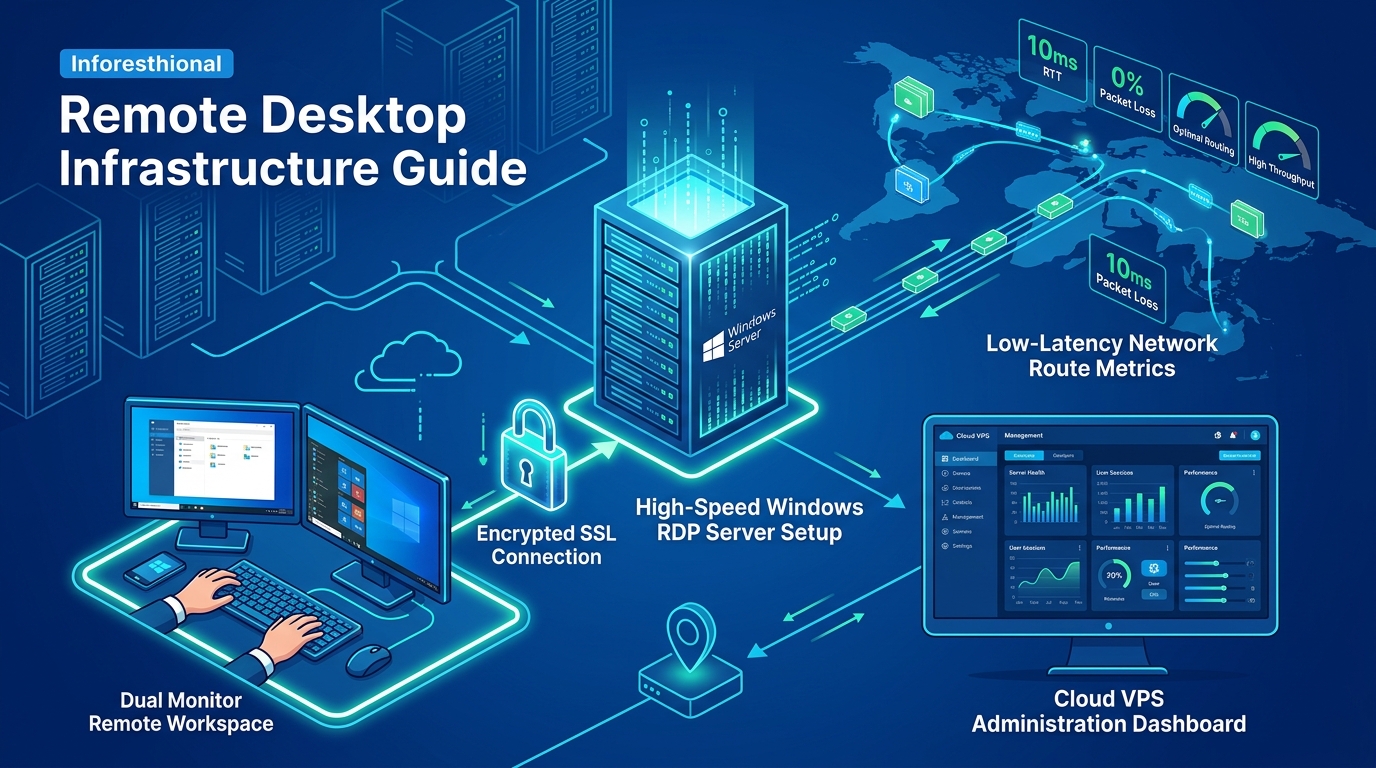
The e-commerce landscape in Pakistan is growing at a breakneck pace. Whether you are running a custom Laravel application, a Magento storefront, or a headless WooCommerce setup, speed and search accuracy are non-negotiable. Customers expect instantaneous page loads and highly relevant search results. To deliver this, you need a robust backend architecture.
In this deep-dive guide, we will walk you through setting up a blazing-fast, highly secure e-commerce backend utilizing Redis (for object caching and session management) and Elasticsearch (for full-text product search) on an NVMe VPS in Pakistan.
By hosting this stack locally on an NVMe VPS, you drastically reduce latency for Pakistani shoppers, leading to higher conversion rates and lower cart abandonment.
Why Redis and Elasticsearch?
- Redis: An in-memory data structure store. For e-commerce, it caches database queries, stores session data, and handles transient cart states. This drastically reduces the load on your primary SQL database.
- Elasticsearch: A distributed, RESTful search and analytics engine. It powers complex, typo-tolerant product searches, faceted filtering (by size, color, brand), and real-time inventory lookups much faster than standard SQL
LIKEqueries.
While an NVMe VPS provides excellent performance for small to medium-sized stores, enterprise-level applications handling massive concurrency—especially during peak seasons like Eid or Blessed Friday—often require more compute power. For large-scale corporate infrastructure or high-throughput Elasticsearch nodes, you will eventually need the unmetered bandwidth and immense memory capacity of bare-metal Dedicated Servers, and specifically Dedicated Servers in Pakistan to maintain ultra-low regional latency.
Step 1: Server Preparation and Security Hardening
Start with a fresh Ubuntu 24.04 LTS installation on your NVMe VPS.
1. Update the System
sudo apt update && sudo apt upgrade -y2. Configure UFW (Uncomplicated Firewall)
Security is critical. We will only expose SSH, HTTP, and HTTPS ports to the outside world. Redis and Elasticsearch must only be accessible locally or via a private network.
sudo ufw default deny incoming
sudo ufw default allow outgoing
sudo ufw allow OpenSSH
sudo ufw allow 80/tcp
sudo ufw allow 443/tcp
sudo ufw enable
3. System Limits Optimization (Crucial for Elasticsearch)
Elasticsearch requires a high number of memory-mapped areas. Edit the sysctl.conf file:
sudo nano /etc/sysctl.confAdd the following line at the end:
vm.max_map_count=262144Apply the changes:
sudo sysctl -pStep 2: Deploying the Stack using Docker Compose
For a secure and maintainable setup, we highly recommend running Redis and Elasticsearch inside Docker containers. This isolates the services and makes configuration management easier.
1. Install Docker and Docker Compose
sudo apt install docker.io docker-compose -y
sudo systemctl enable docker
sudo systemctl start docker
2. Create the Docker Compose File
Create a directory for your backend stack:
mkdir ~/ecommerce-backend && cd ~/ecommerce-backend
nano docker-compose.yml
Paste the following configuration:
version: '3.8'

services:
  elasticsearch:
    image: docker.elastic.co/elasticsearch/elasticsearch:8.10.2
    container_name: es_ecommerce
    environment:
      - node.name=es_node_1
      - discovery.type=single-node
      - cluster.name=ecommerce-cluster
      - bootstrap.memory_lock=true
      - "ES_JAVA_OPTS=-Xms2g -Xmx2g" # Adjust based on your VPS RAM
      - xpack.security.enabled=true
      - xpack.security.enrollment.enabled=true
    ulimits:
      memlock:
        soft: -1
        hard: -1
    volumes:
      - es_data:/usr/share/elasticsearch/data
    ports:
      - "127.0.0.1:9200:9200"
    restart: unless-stopped

  redis:
    image: redis:7.2-alpine
    container_name: redis_ecommerce
    command: redis-server --requirepass YourSecureRedisPassword123! --maxmemory 1gb --maxmemory-policy allkeys-lru
    ports:
      - "127.0.0.1:6379:6379"
    volumes:
      - redis_data:/data
    restart: unless-stopped

volumes:
  es_data:
  redis_data:
Security Notes in this Config:
- Port Binding: We bind ports
9200and6379strictly to127.0.0.1. This prevents external access. - Elasticsearch X-Pack Security:
xpack.security.enabled=trueenables native authentication. - Redis Password: The
--requirepassflag enforces password authentication. - Redis Eviction Policy:
--maxmemory-policy allkeys-lruensures that if Redis hits the 1GB RAM limit, it evicts the least recently used keys (ideal for caching).
3. Start the Services
sudo docker-compose up -dStep 3: Post-Deployment Configuration
Configuring Elasticsearch Credentials
Since we enabled X-Pack security, Elasticsearch requires a password to interact with its API. Generate the default passwords:
sudo docker exec -it es_ecommerce bin/elasticsearch-setup-passwords auto -bSave the output! You will need the elastic user password to configure your e-commerce application (Magento, Laravel, etc.) to connect to Elasticsearch.
Testing the Endpoints
Verify Redis is running and authenticated:
sudo docker exec -it redis_ecommerce redis-cli -a YourSecureRedisPassword123! ping
# Expected output: PONG
Verify Elasticsearch is responding:
curl -u elastic:<YOUR_GENERATED_PASSWORD> -X GET "localhost:9200/"Step 4: Connecting Your E-Commerce Platform
Now that your ultra-fast backend is running, you simply need to configure your web application to utilize it.
- For Redis: Set your
.envor application configuration to point the cache/session driver to127.0.0.1:6379, and provide the password you set. - For Elasticsearch: Install the respective Elasticsearch plugin/module for your platform (e.g., ElasticPress for WooCommerce, Smile ElasticSuite for Magento). Point the endpoint to
http://127.0.0.1:9200and supply theelasticusername and generated password.
Conclusion
By leveraging an NVMe VPS in Pakistan, you have localized your database queries, ensuring single-digit millisecond latency for Redis lookups and complex Elasticsearch queries. This architecture forms a rock-solid foundation for a high-performing e-commerce store that can handle thousands of concurrent product searches and cart transactions without breaking a sweat.
As your store expands beyond a single server setup, remember that migrating this exact stack to isolated, high-performance Dedicated Servers will be the next logical step in your scaling journey.
