
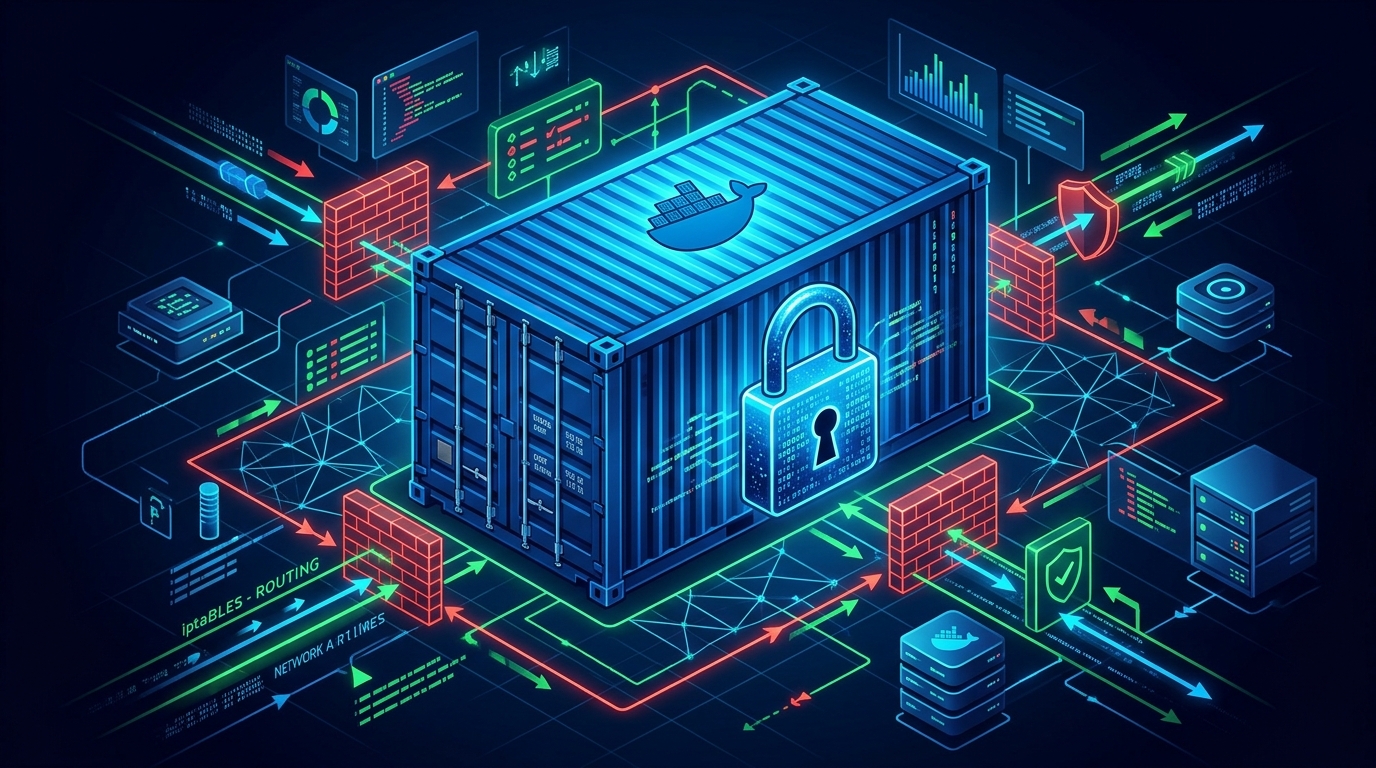
One of the most dangerous and widely misunderstood security vulnerabilities in modern Linux server administration is the Docker iptables Bypass.
Consider this common scenario: A systems engineer in Pakistan sets up a production server running Ubuntu or AlmaLinux. They configure UFW or firewalld with strict rules:
ufw default deny incoming
ufw allow 22/tcp
ufw allow 80/tcp
ufw allow 443/tcp
ufw enable
Confident that the firewall is impenetrable, the engineer deploys a microservice stack using Docker Compose:
services:
  database:
    image: postgres:15
    ports:
      - "5432:5432"
  cache:
    image: redis:7
    ports:
      - "6379:6379"
They assume that because port 5432 and 6379 were never allowed in UFW, they are shielded from the outside world.
They are completely wrong.
Within minutes, automated scanners from Shodan, Censys, and brute-force botnets can connect directly to port 5432 and 6379. Why? Because Docker automatically injects its own high-priority rules into the raw Linux kernel iptables PREROUTING chain, completely circumventing UFW, firewalld, and standard input filters!
In this architectural guide, we dissect how Docker manipulates the kernel network stack, why UFW fails to protect containerized workloads, and how to permanently secure your production containers on Dedicated Servers in Pakistan.
The Root Cause: How Docker Bypasses the INPUT Chain
To understand why UFW and firewalld are bypassed, you must trace the path of a network packet through the Linux kernel’s Netfilter architecture:
[Incoming Packet from Public Internet]
                  │
                  ▼
         [PREROUTING Chain (NAT Table)]
                  │
   Docker inserts DNAT rule HERE! ──► Directs packet to Docker Bridge (docker0)
                  │
                  ▼
         [Routing Decision]
         ├── Destination is Local Host? ──► [INPUT Chain] (Where UFW lives!)
         │
         └── Destination is Container IP? ─► [FORWARD Chain] (BYPASSES UFW COMPLETELY!)
                                                    │
                                                    ▼
                                           [DOCKER Chain]
                                                    │
                                                    ▼
                                     [Container Port: 5432/6379 EXPOSED!]
Why UFW Rules Are Ignored:
- UFW rules primarily hook into the
INPUTchain. - When you publish a port using
-p 5432:5432orports: ["5432:5432"], Docker adds a Destination NAT (DNAT) rule into thePREROUTINGchain. - The kernel sees that the packet is destined for the container’s private IP on the
docker0bridge (e.g.,172.17.0.2), not the local host itself. - Therefore, the packet takes the
FORWARDchain path, sailing right past all of your UFWINPUTrules without ever being evaluated!
Method 1: The Golden Rule (Bind Strictly to Localhost)
The simplest and most secure fix for 95% of containerized applications is to never expose backend containers to 0.0.0.0.
If your database, Redis cache, or internal microservices only need to communicate with other local containers or host applications, explicitly bind them to 127.0.0.1:
In docker-compose.yml:
services:
  postgres:
    image: postgres:15
    ports:
      # SECURE: Binds exclusively to the local loopback interface
      - "127.0.0.1:5432:5432"

  redis:
    image: redis:7
    ports:
      # SECURE: Only reachable from the local server
      - "127.0.0.1:6379:6379"
In the Docker CLI:
# Insecure (Exposes to the entire public internet):
docker run -d -p 6379:6379 redis

# SECURE (Exposes only to the host machine):
docker run -d -p 127.0.0.1:6379:6379 redis
Method 2: Hardening the DOCKER-USER iptables Chain
What if you genuinely need a container port accessible to specific external office IPs or partner APIs, but want to block the rest of the world?
Docker explicitly reserves the DOCKER-USER chain for custom administrator filtering. All incoming packets destined for containers pass through DOCKER-USER before Docker evaluates its internal forwarding logic.
Creating Persistent Firewall Rules in DOCKER-USER:
Suppose you want to expose a staging container on port 8080 only to your corporate office in Islamabad (103.151.43.50), while blocking all other public traffic:
# 1. Flush existing DOCKER-USER rules
iptables -F DOCKER-USER

# 2. Allow established and related connections (Prevents dropping active sessions)
iptables -A DOCKER-USER -m conntrack --ctstate RELATED,ESTABLISHED -j RETURN

# 3. Allow trusted office IP to access container port 8080
iptables -A DOCKER-USER -s 103.151.43.50/32 -p tcp --dport 8080 -j RETURN

# 4. Drop all other traffic attempting to reach the internal docker bridge
iptables -A DOCKER-USER -i eth0 -j DROP

# 5. Fallback return for non-external traffic (e.g. inter-container networking)
iptables -A DOCKER-USER -j RETURN
Making Rules Persistent Across Reboots:
# On Ubuntu / Debian:
apt-get install -y iptables-persistent
netfilter-persistent save

# On AlmaLinux / Rocky Linux:
dnf install -y iptables-services
service iptables save
Method 3: Disabling Docker’s iptables Manipulation (iptables: false)
If you want total, centralized firewall control managed strictly through UFW or custom scripts, you can instruct Docker to stop touching your kernel iptables tables entirely.
Edit /etc/docker/daemon.json:
{
  "iptables": false
}
Restart the Docker daemon:
systemctl restart docker[!CAUTION] Setting
"iptables": falsedisables Docker’s automatic outbound Source NAT (masquerading). Containers will lose outbound internet access unless you manually configure NAT forwarding rules on your external interface (iptables -t nat -A POSTROUTING -s 172.17.0.0/16 -o eth0 -j MASQUERADE). For most production deployments, Method 1 (Localhost Binding) and Method 2 (DOCKER-USER) are vastly safer.
Verification: Scanning Your Production Containers
To ensure your server is truly sealed against port exposure, run an external port scan from a different machine or use nmap:
# Scan public IP from an external network
nmap -Pn -p 5432,6379,8080 103.xxx.xxx.xxx- Vulnerable State:
5432/tcp open postgresql - Hardened State:
5432/tcp filtered postgresql
If the port reports filtered or closed, your DOCKER-USER chain or localhost binding is successfully shielding your database from external threats!
Enterprise Security Demands Dedicated Bare Metal
In multi-tenant cloud environments, software container isolation is only as secure as the shared host kernel. If a rogue container on a shared node escapes via a kernel exploit or floods the network stack, adjacent workloads suffer.
Deploying your mission-critical Docker and Kubernetes clusters on bare-metal hardware guarantees dedicated network interfaces, private hardware firewalls, and zero multi-tenant noisy neighbors.
Explore Nextgen’s high-performance bare-metal Dedicated Servers and locally hosted Dedicated Servers in Pakistan.
Lock Down Your Container Infrastructure with Nextgen
Protect your production data and microservices from unauthorized exposure. Deploy containerized applications on isolated bare-metal servers with dedicated private networks and 24/7 expert sysadmin support in Pakistan.
