
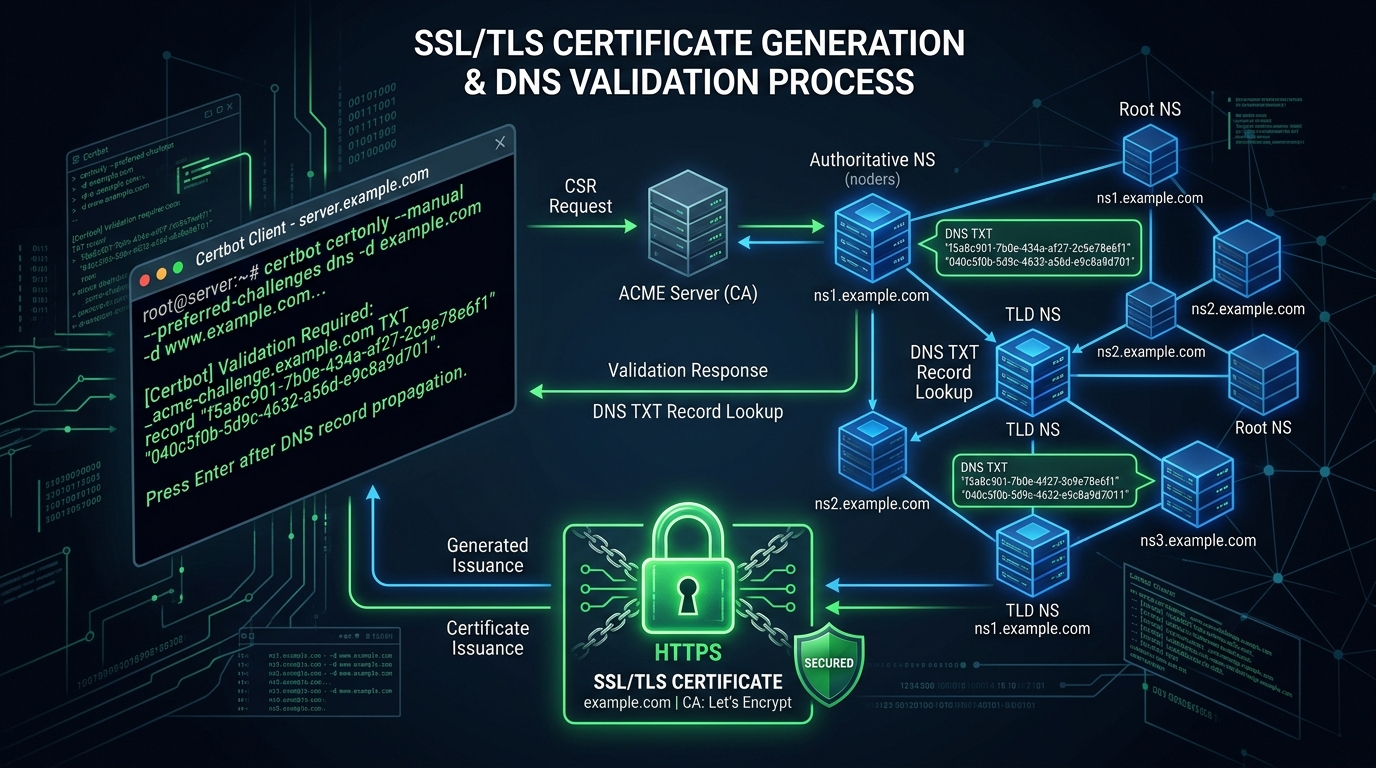
Transport Layer Security (TLS/SSL) is no longer an optional feature—it is the non-negotiable security foundation of the modern web. In addition to encrypting sensitive credit card data and personal information, HTTPS is a mandatory ranking factor in Google search algorithms and an absolute prerequisite for modern protocols like HTTP/2 and HTTP/3 QUIC.
Most system administrators in Pakistan provision free Let’s Encrypt SSL certificates using standard HTTP-01 validation (certbot --nginx or certbot --apache).
While HTTP-01 works well for standard single-domain websites, it introduces severe architectural limitations for enterprise platforms:
- No Wildcard Support: HTTP-01 cannot issue wildcard certificates (
*.yourdomain.pk). If you operate dynamic multi-tenant SaaS subdomains (tenant1.app.pk,tenant2.app.pk), you must manually request a separate certificate for every client. - Mandatory Public Port 80: HTTP-01 requires the Let’s Encrypt CA to verify a challenge file placed in
/.well-known/acme-challenge/. If your origin backend sits behind an internal VPN, a corporate firewall, or a strict WAF that blocks direct public HTTP traffic, validation fails completely.
The enterprise solution is the Certbot DNS-01 Challenge.
By validating domain ownership directly through the Domain Name System using Cloudflare’s API, Certbot can automatically issue and renew Wildcard SSL certificates with zero open web ports, zero downtime, and zero origin exposure.
This step-by-step engineering guide demonstrates how to configure Certbot with the Cloudflare DNS plugin on enterprise Dedicated Servers in Pakistan.
How DNS-01 Validation Works: The Silent Handshake
Compare the network flow between traditional HTTP-01 and modern DNS-01 validation:
[Traditional HTTP-01 Validation: Requires Public Web Access]
Certbot ──► Writes file to /var/www/html/.well-known/acme-challenge/
                                   │
Let's Encrypt CA ─── GET http://yourdomain.pk/.well-known/... ───► Public Web Server
(Fails if Port 80 is closed, internal VPN, or WAF blocks Let's Encrypt bot!)

[Enterprise DNS-01 Validation: 100% Out-of-Band via DNS API]
Certbot ──── API Token (HTTPS) ────► [Cloudflare DNS API]
                                            │
                                  Creates _acme-challenge TXT record
                                            │
Let's Encrypt CA ──── DNS Lookup ────► [Authoritative Nameserver]
(Validates cryptographic TXT record | Issues Wildcard *.yourdomain.pk!)
(Web ports 80/443 do NOT need to be open to the CA!)
Why DNS-01 is Superior:
- Wildcard Encryption: Covers both the apex root domain (
yourdomain.pk) and all first-level subdomains (*.yourdomain.pk) under a single unified certificate. - Total Firewall Isolation: Origin databases, staging APIs, and internal Kubernetes ingress controllers can remain 100% hidden behind private corporate firewalls.
- Eliminates Web Server Reload Crashes: Challenge verification does not require spinning up standalone web daemons or modifying live NGINX server blocks.
Step 1: Generating a Scoped Cloudflare API Token
To allow Certbot to add and remove DNS verification records securely without exposing your master account, create a scoped, restricted API token:
- Log into your Cloudflare Dashboard.
- Go to My Profile $\rightarrow$ API Tokens $\rightarrow$ Click Create Token.
- Select the Edit zone DNS template.
- Under Permissions, ensure:
Zone-DNS-EditZone-Zone-Read
- Under Zone Resources, restrict the token strictly to:
Include-Specific zone-yourdomain.pk
- Click Continue to summary $\rightarrow$ Create Token.
- Copy the generated secret token.
Step 2: Installing Certbot & the Cloudflare DNS Plugin
We recommend installing Certbot via snap to ensure you receive automatic updates and up-to-date Python cryptography libraries:
# Ensure snapd is installed (Ubuntu/Debian/AlmaLinux/Rocky)
snap install core && snap refresh core

# Install Certbot via Snap
snap install --classic certbot
ln -s /snap/bin/certbot /usr/bin/certbot

# Install the official Cloudflare DNS plugin
snap set certbot trust-plugin-with-subprocesses=ok
snap install certbot-dns-cloudflare
Step 3: Storing the API Credentials Securely
Create a restricted credentials file that is readable only by root:
mkdir -p /root/.secrets
nano /root/.secrets/cloudflare.ini
Add your scoped Cloudflare API token:
# /root/.secrets/cloudflare.ini
dns_cloudflare_api_token = 4f9a1b2c3d4e5f6a7b8c9d0e1f2a3b4c5d6e7f8a
Lock down permissions strictly:
chmod 600 /root/.secrets/cloudflare.iniStep 4: Provisioning Your Wildcard Certificate
Execute Certbot specifying the DNS-01 plugin, your credentials file, and both the root and wildcard domains:
certbot certonly \
  --dns-cloudflare \
  --dns-cloudflare-credentials /root/.secrets/cloudflare.ini \
  --dns-cloudflare-propagation-seconds 30 \
  -d yourdomain.pk \
  -d "*.yourdomain.pk" \
  --email [email protected] \
  --agree-tos \
  --no-eff-email
What Happens in the Background:
- Certbot computes cryptographic challenge tokens.
- Certbot contacts Cloudflare’s API and creates two TXT records:
_acme-challenge.yourdomain.pk. - Certbot pauses for 30 seconds to allow DNS propagation across global Anycast edge nodes.
- Let’s Encrypt queries the TXT records, confirms ownership, and signs the 90-day certificates.
- Certbot calls Cloudflare’s API to cleanly delete the temporary TXT records.
Your newly minted certificates are saved cleanly under:
- Certificate:
/etc/letsencrypt/live/yourdomain.pk/fullchain.pem - Private Key:
/etc/letsencrypt/live/yourdomain.pk/privkey.pem
Step 5: Binding the Wildcard Certificate in NGINX
Configure your NGINX SSL virtual host:
# /etc/nginx/conf.d/wildcard-ssl.conf

server {
    listen 443 ssl http2;
    listen [::]:443 ssl http2;
    server_name yourdomain.pk *.yourdomain.pk;

    # Fullchain & Private Key
    ssl_certificate /etc/letsencrypt/live/yourdomain.pk/fullchain.pem;
    ssl_certificate_key /etc/letsencrypt/live/yourdomain.pk/privkey.pem;

    # Modern TLS Hardening (TLS 1.2 & TLS 1.3 Only)
    ssl_protocols TLSv1.2 TLSv1.3;
    ssl_ciphers ECDHE-ECDSA-AES128-GCM-SHA256:ECDHE-RSA-AES128-GCM-SHA256:ECDHE-ECDSA-AES256-GCM-SHA384:ECDHE-RSA-AES256-GCM-SHA384;
    ssl_prefer_server_ciphers off;

    # OCSP Stapling (Speeds up SSL handshakes)
    ssl_stapling on;
    ssl_stapling_verify on;
    ssl_trusted_certificate /etc/letsencrypt/live/yourdomain.pk/chain.pem;
    resolver 1.1.1.1 8.8.8.8 valid=300s;
    resolver_timeout 5s;

    # HTTP Strict Transport Security (HSTS)
    add_header Strict-Transport-Security "max-age=63072000; includeSubDomains; preload" always;

    location / {
        proxy_pass http://internal_backend;
    }
}
Step 6: Testing Automated Background Renewal
Let’s Encrypt certificates expire after 90 days. The snap installation automatically registers a systemd timer (certbot.timer) that runs twice daily.
To ensure your web server reloads cleanly whenever a renewal occurs, create a renewal deployment hook:
mkdir -p /etc/letsencrypt/renewal-hooks/deploy/
nano /etc/letsencrypt/renewal-hooks/deploy/reload-nginx.sh
#!/bin/bash
systemctl reload nginxMake it executable:
chmod +x /etc/letsencrypt/renewal-hooks/deploy/reload-nginx.shTest the automated renewal with a dry run:
certbot renew --dry-runOutput:
Congratulations, all simulated renewals succeeded!
Complete Cryptographic Sovereignty with Nextgen
Managing automated SSL lifecycles across hundreds of dynamic client microservices requires robust underlying infrastructure. Shared hosting environments often restrict root cron jobs, disable background systemd timers, and throttle outbound API calls to Cloudflare.
Deploying on dedicated bare-metal enterprise hardware guarantees complete root autonomy, dedicated compute, and flawless SSL automation.
Explore Nextgen’s high-performance bare-metal Dedicated Servers and locally hosted Dedicated Servers in Pakistan.
Secure Your Multi-Tenant Platforms with Nextgen
Deliver seamless wildcard encryption and enterprise TLS performance. Deploy your applications on dedicated bare-metal infrastructure backed by our 4.7/5 Trustpilot rated support in Pakistan.
